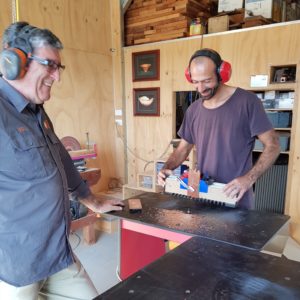
WELCOME TO OUR WORKSHOP…
We conduct box making courses for enthusiasts who want to refine their foundation skills, through to box makers who want to master a range of advanced techniques.
Col is an accomplished teacher with twenty five years experience mentoring and instructing college students. As well as conducting a range of wood working courses during his teaching career, for the past nine years Col has been conducting box making courses and jig inservicing for adults.
It’s important that participants enjoy the process of learning new skills. Col will set a course to suit your learning needs, ensuring you come away with a wealth of knowledge and new box making experiences.
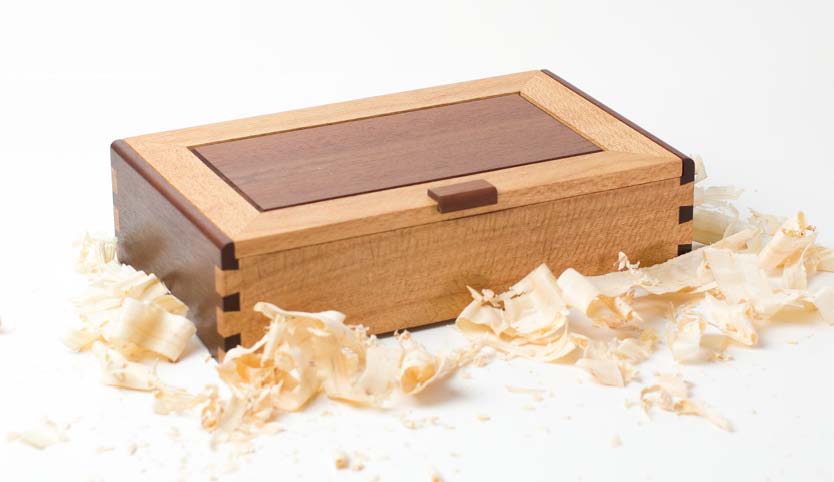
Each course has its set of techniques to learn. For example, the Desktop box featured in the first course, has an expanded dovetail joint where the lid is cut away from the base; a raised panel is inserted in the lid frame, and mitered internal sleeves are rounded over to ‘nest’ the lid. Finally, raised feet are cut along each bottom edge, to create the effects of height and shadow. See below for more details on each box.
One student per class will have Col’s full attention.
We place a strong emphasis on health and safety in the workshop. We ask that participants bring eye, ear and face protection, along with covered footwear.
The course is conducted in our workshop in Coffs Harbour, NSW. Accommodation is plentiful, from budget through to resort style.
We do courses throughout the year, setting a date by matching diaries with you. So, if you’re interested, call anytime to get started!
Col: 0411 283 802
Daily fee per person: $750 incl GST.
You will be provided with material for two boxes. |
Duration: 8.30am to 4.00pm, with breaks
for morning tea and lunch [included]. |
Three box making courses are available:
[1] ONE DAY COURSE: Introduction to box making. Make two Desktop boxes.
[2] TWO DAY COURSE: Building on your box making skills. Make two boxes: 1 x Desktop, 1 x Trinket box.
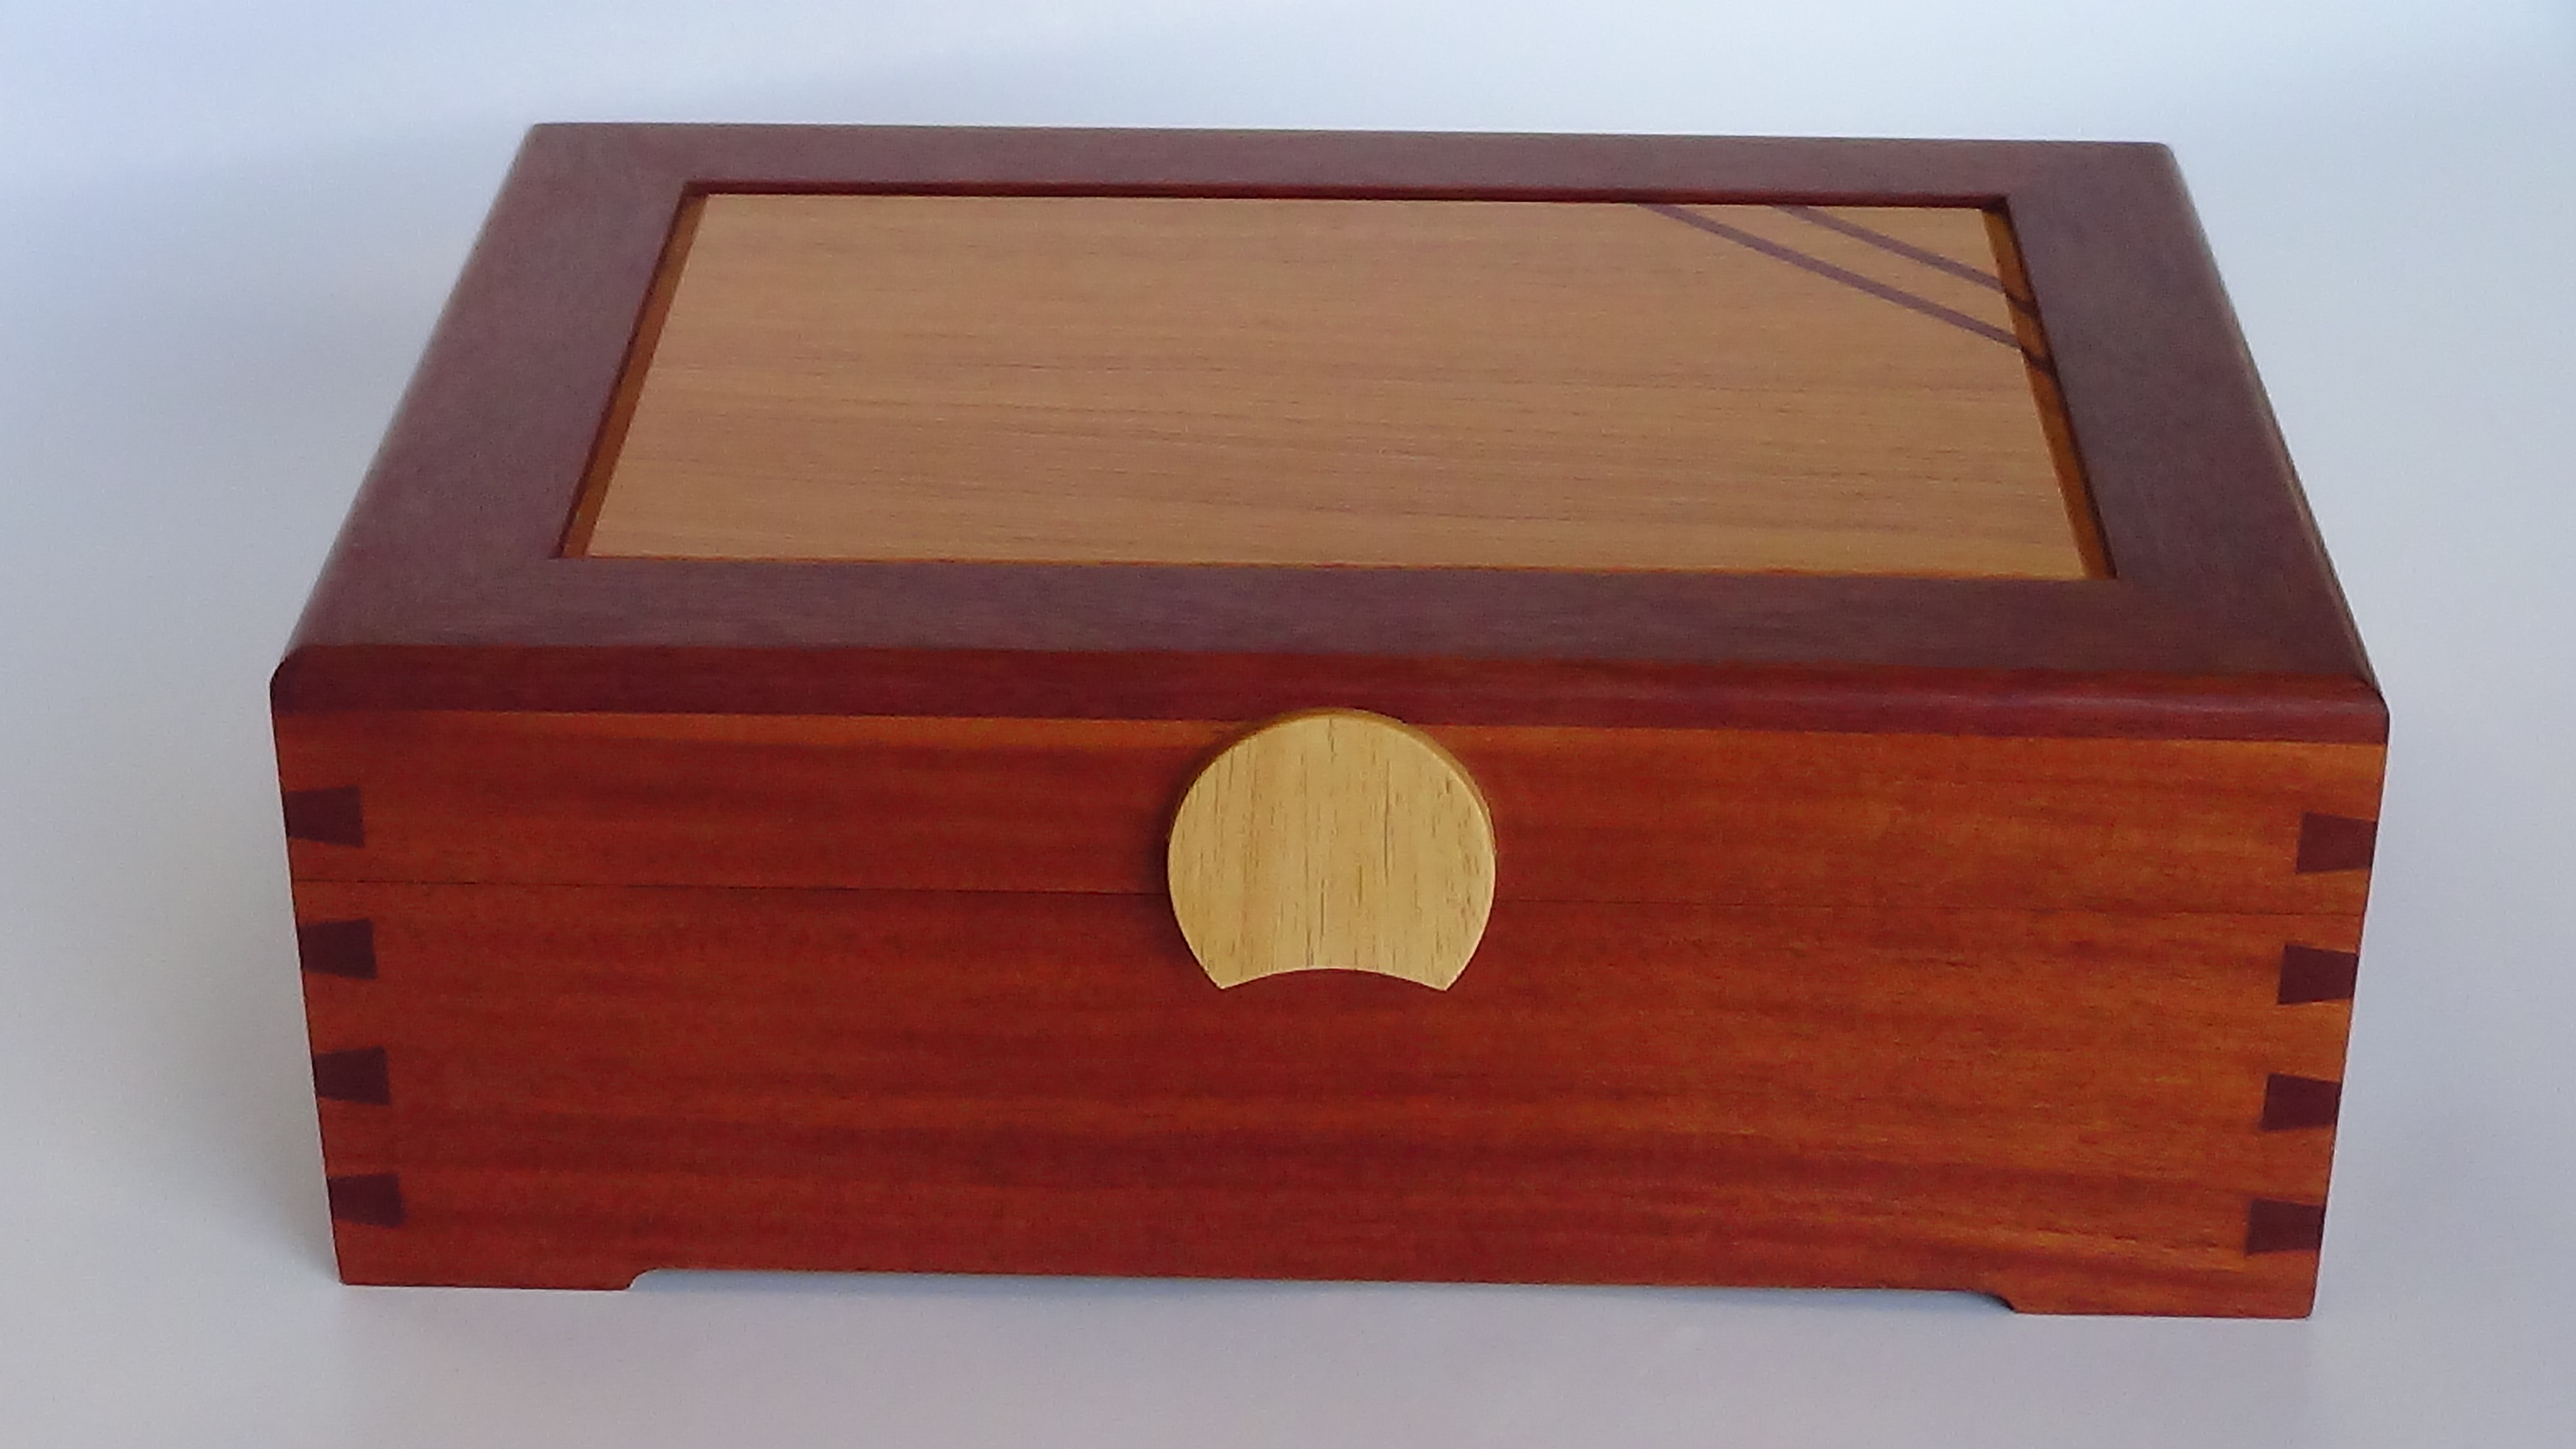
[3] THREE DAY COURSE: Advanced box making techniques. Make two boxes: 1 x Trinket, 1 x Special jewellery box.
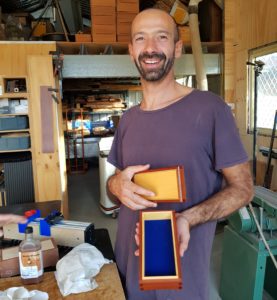
| Desktop box |
Trinket box |
Special jewellery box |
 |
 |
 |
Scroll down to see the details of each course…
[1] ONE DAY COURSE: Introduction to box making
You will be provided with material for two DESKTOP boxes…
[1] prepared timber for one box, and
[2] one raw fitted box to use during the course.
The outline below forms the basis of the course…
Session 1
|
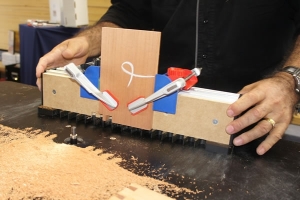
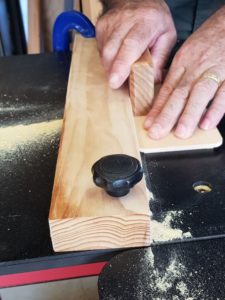
Gifkins Dovetail jig and box making equipment
- Briefing on safety in the workshop and jig maintenance.
- Summary of the jig construction and useful box making accessories.
- Set up of the jig and cutting test joints.
|
Session 2
|
Make a Desktop box—demonstration and participation
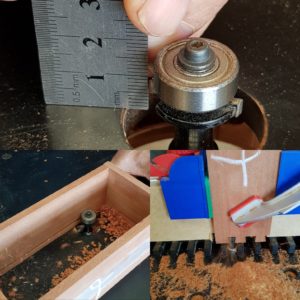
- CARCASE: Cut the dovetail joints on all sides of the box, using the variable joint spacer to expand one joint.
- Cut a trench rebate in the top and bottom of the box to fit the lid and base.
- Dry assemble the box for fit. Glue box and test for square.
- BOX LID: Split open the box using the spiral cutter.
- Cut a coved rebate around the edge of the lid panel with the panel raiser.
- Measure and cut the sleeves for the box interior.
- Cut and fit false floor for the box; cut and fit baize to false floor.
- FINISH: Sand all sides through the grades to attain a smooth surface.
- Finish with Organoil Danish oil.
|
Workshop safety
|
Please bring along ear and eye protection and wear enclosed shoes. |
|
Further courses available
|
Other template profiles and processes
- How to use the A10 template to construct a box with uneven sides.
- Cutting finger joints with F15 template.
- Using the H10 template to make divider for a box interior.
- How to use the variable joint spacers [VJS].
|
[2] TWO DAY COURSE: Build on your box making skills
You will be provided with material to make…
[1] a DESKTOP box with an expanded dovetail joint, and
[2] a TRINKET box with a hinged, ‘frame-and-panel’ lid.
The outlines below form the basis of the course and assumes a basic knowledge of the Gifkins jig and box making in general.
The construction of the boxes will overlap to make the best use of the time available.
Session 1
|
Gifkins Dovetail jig and box making equipment
- Briefing on safety in the workshop and jig maintenance.
- Summary of the jig construction and useful box making accessories.
- Set up of the jig and cutting test joints.
|
Session 2
|
Make a Desktop box—demonstration and participation
- CARCASE: Cut the dovetail joints on all sides of the box, using the variable joint spacer to expand one joint.
- Cut a trench rebate in the top and bottom of the box to fit the lid and base.
- Dry assemble the box for fit. Glue box and test for square.
- BOX LID: Split open the box using the spiral cutter.
- Cut a coved rebate around the edge of the lid panel with the panel raiser.
- Measure and cut the sleeves for the box interior.
- Cut and fit false floor for the box; cut and fit baize to false floor.
- FINISH: Sand all sides through the grades to attain a smooth surface.
- Finish with Organoil Danish oil.
|
Session 3
|
Construct a Trinket box—demonstration and participation
- CARCASE: Measure and dock all sides for the uneven-sided box.
- Cut dovetails and pins in all sides, allowing for the higher sides at the end.
- Cut the trench for the floor and fit into the box frame.
- Dry assemble for fit. Glue sides and floor. Sand joints flat when box is dry.
- BOX LID: Cut and construct the panel and frame for the lid.
- Glue and cramp the lid components.
- Cut recess on the top of the box to accommodate the lid.
- When the lid is dry, trim to fit the top of the box.
- Measure and chisel the recesses for two hinges. Fit the lid for size.
- FINISH: sand all sides through the grades to a very smooth surface.
- Finish with Organoil Danish oil.
|
Workshop safety
|
Please bring along ear and eye protection and wear enclosed shoes. |
|
Further courses available
|
Other template profiles and processes
- Using multiple thickness timbers in one box
- How to use the B10 template with thinner thickness timbers
- Using the H10 template to make thin dividers for a box interior.
|
[3] THREE DAY COURSE: Advanced box making techniques
You will be provided with material to make…
[1] a TRINKET box with a hinged, ‘frame-and-panel’ lid, and
[2] a SPECIAL JEWELLERY box with insert sleeves and one tray.
The outlines below form the basis of the course and assumes a basic knowledge of the Gifkins jig and box making in general.
The construction of the boxes will overlap to make the best use of the time available.
Session 1
|
Gifkins Dovetail jig and box making equipment
- Briefing on safety in the workshop and jig maintenance.
- Summary of the jig construction and useful box making accessories.
- Set up of the jig and cutting test joints.
|
Session 2
|
Construct a Trinket box—demonstration and participation
- CARCASE: Measure and dock all sides for the uneven-sided box.
- Cut dovetails and pins in all sides, allowing for the higher sides at the end.
- Cut the trench for the floor and fit into the box frame.
- Dry assemble for fit. Glue sides and floor. Sand joints flat when box is dry.
- BOX LID: Cut and construct the panel-and-frame for the lid.
- Glue and cramp the lid components.
- Cut recess on the top of the box to accommodate the lid.
- When the lid is dry, trim to fit the top of the box.
- Measure and chisel the recesses for two hinges. Fit the lid for size.
- FINISH: sand all sides through the grades to a very smooth surface.
- Finish with Organoil Danish oil.
|
Session 3
|
Construct a Special jewellery box—demonstration and participation
- CARCASE: Measure and dock the timber for the carcase of the box.
- Drill the recesses on the back panel to accommodate the barrel hinges.
- Cut the dovetails and pins, using the variable joint spacers.
- Cut the trench for the floor. Fit the floor of the box.
- Glue the sides and floor. Cramp and measure for square.
- BOX LID: While the carcase is drying, cut and construct the panels and frame for the lid.
- Prepare and cut butterfly keys in the mitered lid frame.
- Glue and cramp the lid components.
- When the lid is dry, trim it to fit the top box frame.
- Split open the box at the expanded joint, to form the base and lid components.
- Measure and cut the internal sleeves for the box.
- Miter each sleeve edge. Check the fit.
- INTERNAL TRAY: Measure and cut the sides for the internal tray.
- Shape the ends to form ‘handles’.
- Using the H10 template, cut the dovetails and pins.
- Cut the trench for the floor. Dry assemble the tray for fit.
- Fit and glue the tray.
- FINISHING: Measure and cut the ply for the box base and tray base.
- Cut and measure the adhesive baize for each false floor.
- Sand all sides through the grades to a very smooth surface.
- Finish with Organoil Danish oil.
|
Workshop safety
|
Please bring along ear and eye protection and wear enclosed shoes. |
|
Further courses available
|
Other template profiles and processes
- Using multiple thickness timbers in one box.
- How to use the B10 template with thinner thickness timbers.
- Using the H10 template to make thin dividers for a box interior.
- Using the Gifkins MINI jig to make and fit butterfly keys to bond miter corners in a frame-and-panel lid.
|